Walkthrough 13-3: Use filtering and aggregation in a batch step
In this walkthrough, you use a batch job to synchronize account database records to Salesforce. You will:
· Use a batch job to synchronize database records (with your postal code) to Salesforce.
· In a first batch step, check to see if the record already exists in Salesforce.
· In a second batch step, add the record to Salesforce.
· Use a batch step filter so the second batch step is only executed for specific records.
· Use a Batch Aggregator scope to commit records in batches.
Starting file
If you did not complete the previous walkthrough, you can get a starting file here. This file is also located in the solutions folder of the student files ZIP located in the Course Resources.
Look at existing Salesforce account data
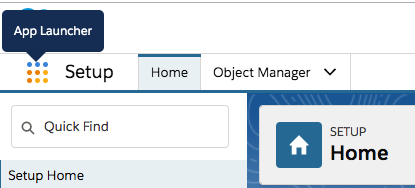
1. In a web browser, navigate to http://login.salesforce.com/ and log in with your Salesforce Developer account.
2. Click the App Launcher, click View All, then click the Accounts link
3. In the view drop-down menu, select All Accounts.
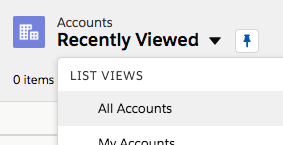
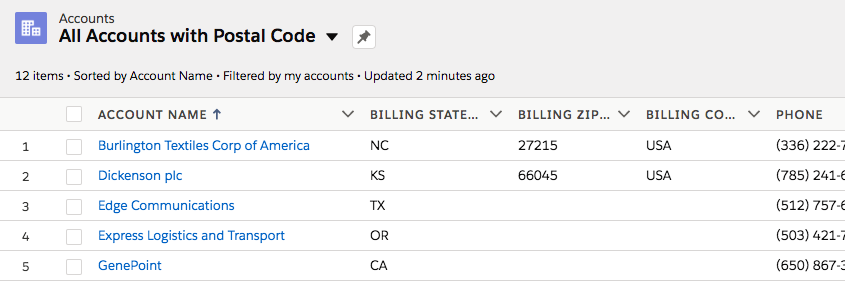
4. Look at the existing account data; a Salesforce Developer account is populated with some sample data.
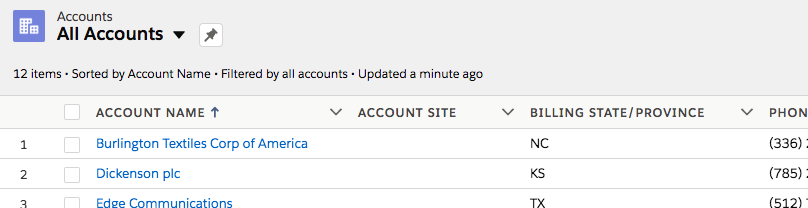
5. Notice that countries and postal codes are not displayed by default.
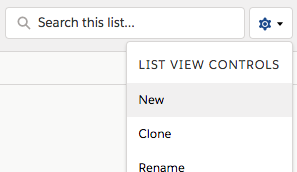
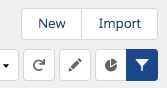
6. In the List View Controls drop-down menu, select New.
7. In the New List View dialog box, set the list name to All Accounts with Postal Code.
8. Select All users can see this list view.
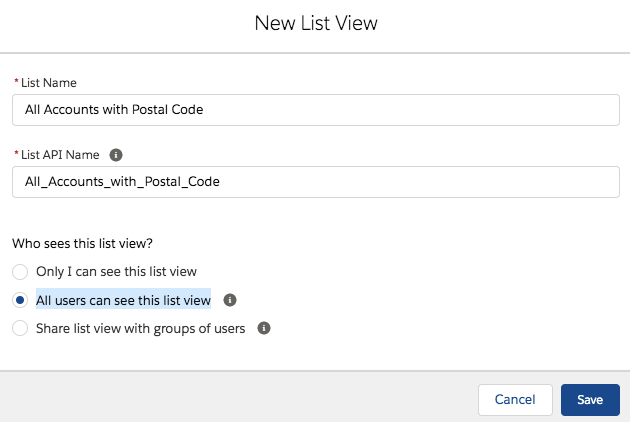
9. Click Save.
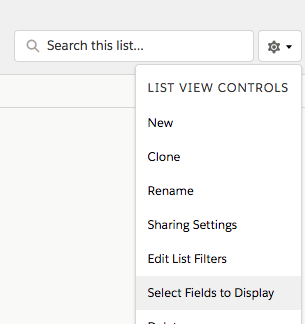
10. In the List View Controls drop-down menu, select Select Fields to Display.
11. In the Select Fields to Display dialog box, select Billing Zip/Postal Code as the available field and click the Move selection to Visible Fields button.
12. Select Billing Country as the available field and click the Move selection to Visible Fields button.
13. Use the Up and Down buttons to order the fields as you prefer.
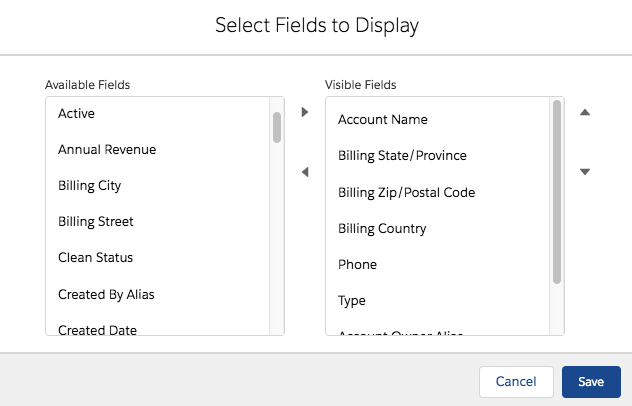
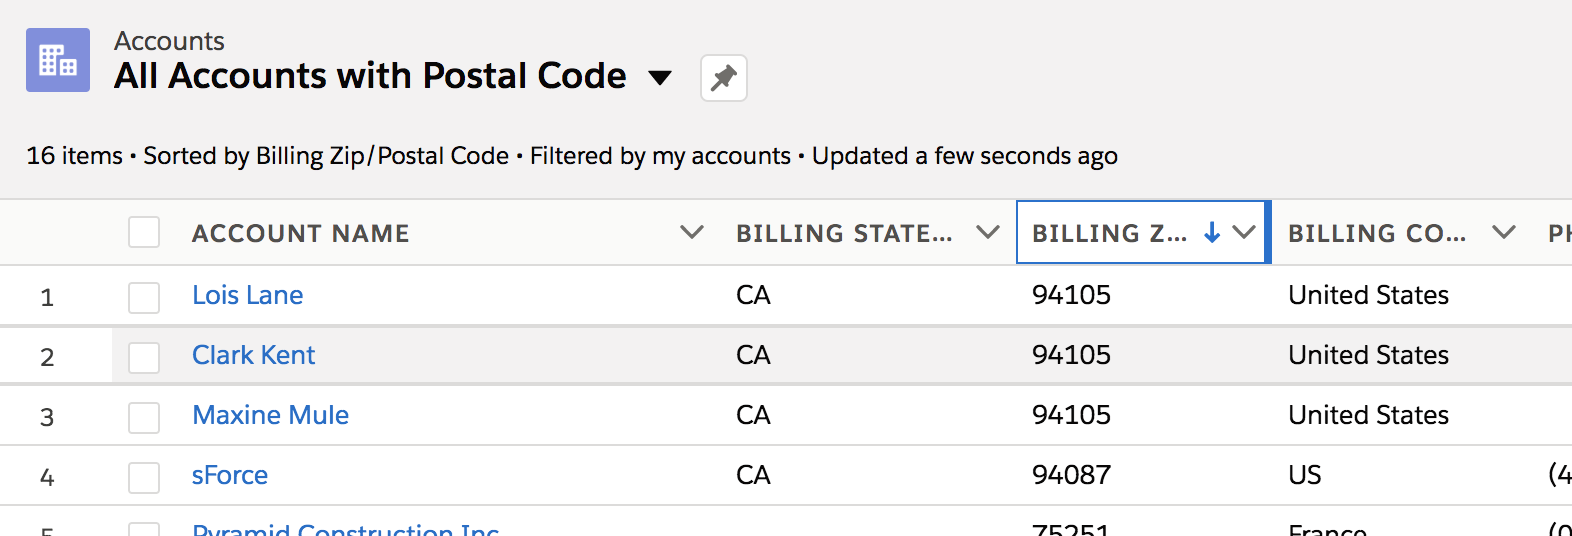
14. Click Save; you should now see all the accounts with postal codes and countries.
15. Adjust the column widths as you prefer.
Add an account to Salesforce with a name matching one of the database records
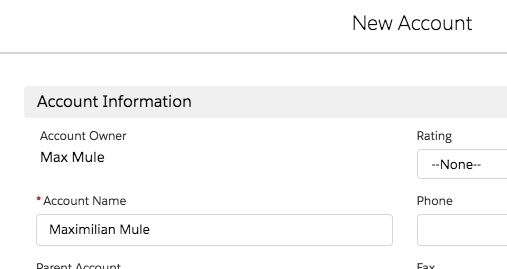
16. Click the New button.
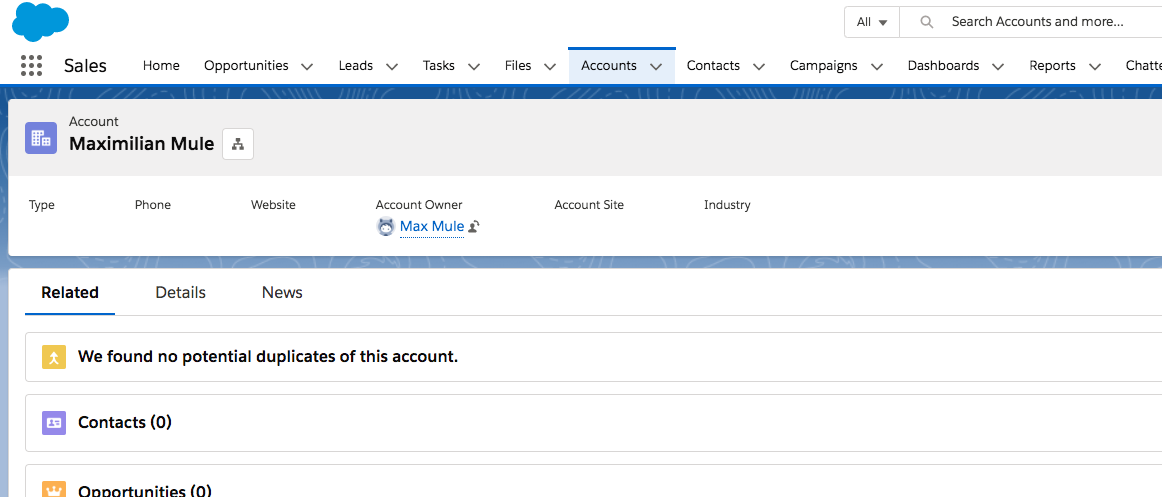
17. In the New Account dialog box, enter an account name (one that matches one of the accounts you added with your postal code to the database) and click Save.
18. Leave this browser tab open.
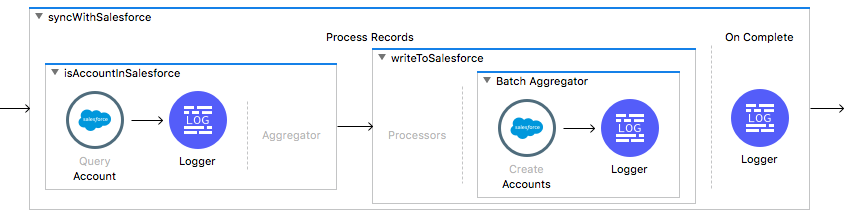
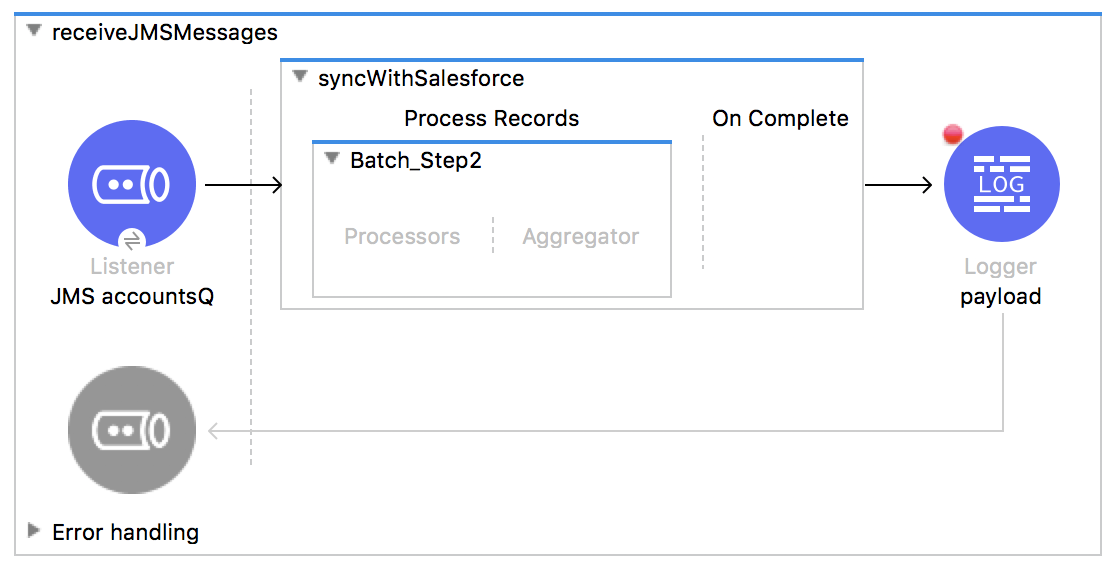
Add a Batch Job scope to the receiveJMSmessages flow
19. Return to accounts.xml in Anypoint Studio.
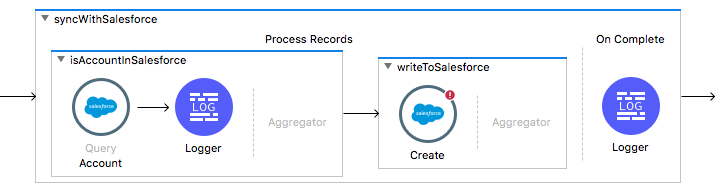
20. Drag a Batch Job scope from the Mule Palette and drop it before the Logger in the receiveJMSmessages flow.
21. Change the display name of the batch job to syncWithSalesforce.
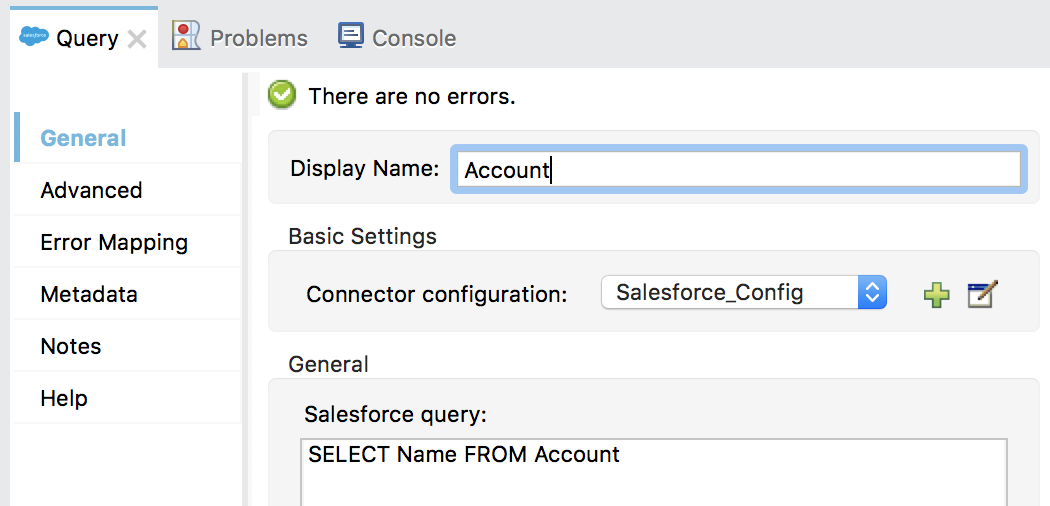
Query Salesforce to see if an account already exists
22. Change the name of the batch step inside the batch job to isAccountInSalesforce.
23. Drag a Salesforce Query operation from the Mule Palette and drop it in the processors phase in the batch step.

24. In the Query properties view, set the following values:
· Display Name: Account
· Connector configuration: Salesforce_Config
· Salesforce query: SELECT Name FROM Account
Note: You will add to this query shortly.
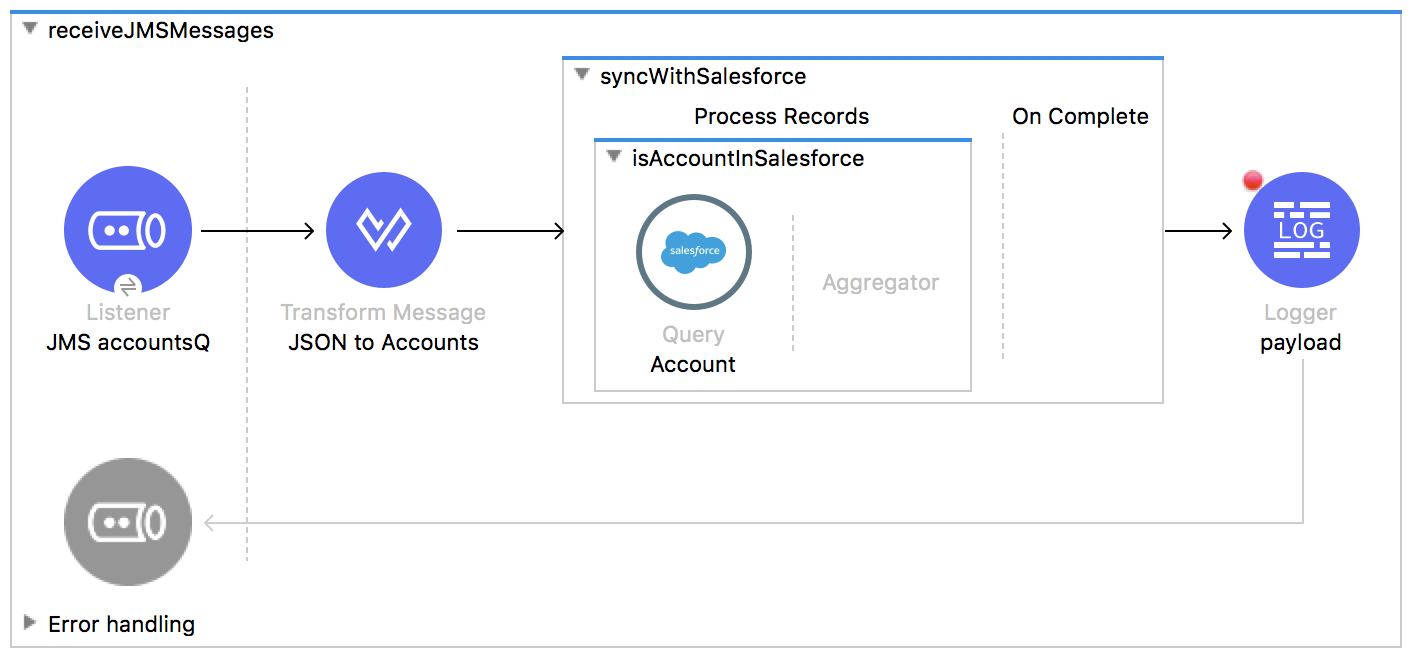
Transform the input JSON data to Salesforce Account objects
25. Add a Transform Message component before the Batch Job.
26. Change the display name to JSON to Accounts.
27. In the Transform Message properties view, look at the metadata in the input section.
28. Right-click Payload and select Set Metadata.
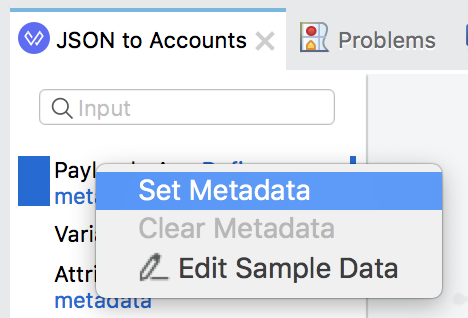
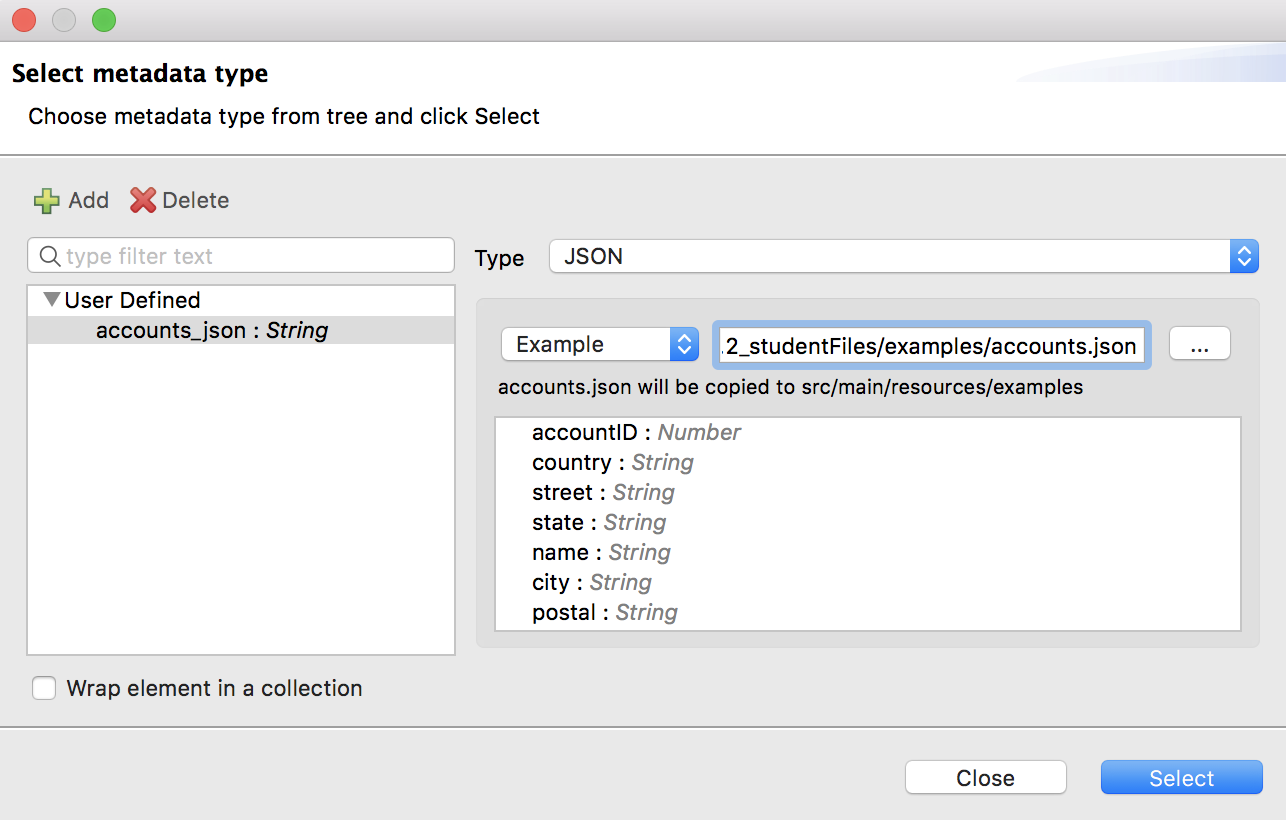
29. Create a new metadata type with the following information:
· Type id: accounts_json
· Type: JSON
· Example: Use the accounts.json file in the resources/examples folder of the student files
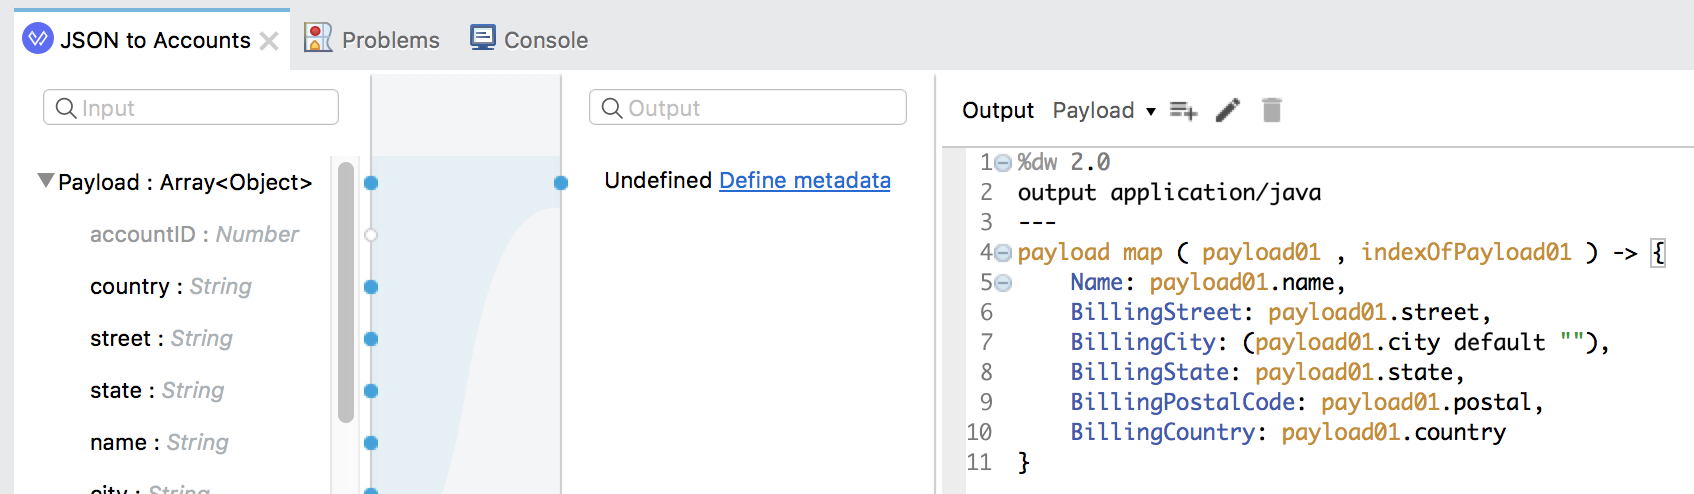
30. In the Transform Message properties view, map the following fields:
· name: Name
· street: BillingStreet
· city: BillingCity
· state: BillingState
· postal: BillingPostalCode
· country: BillingCountry
Note: If you do not get Salesforce metadata for the Account object, you can copy the DataWeave transformation from the course snippets.txt file.
Finish the batch step to check if an account already exists in Salesforce
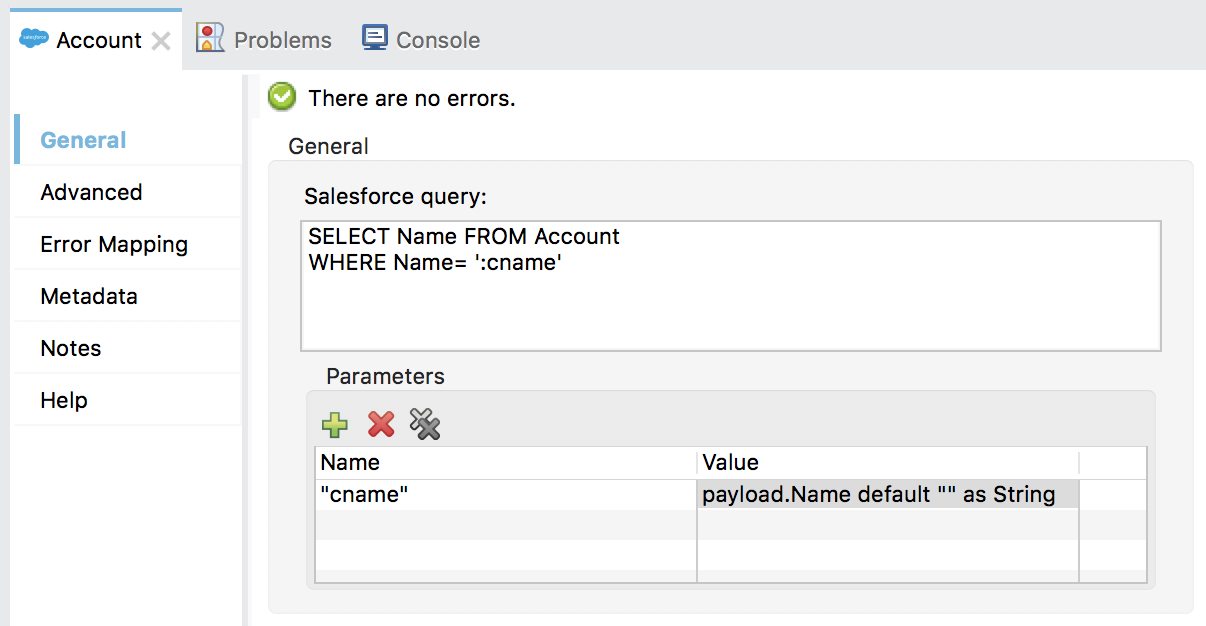
31. In the Query properties view, add an input parameter named cname.
32. Set the parameter value to payload.Name, ensure it is a String, and give it a default value.
payload.Name default "" as String
33. Modify the Salesforce query to look for accounts with this name.
SELECT Name FROM Account
WHERE Name= ':cname'
Store the result in a variable instead of overriding the payload
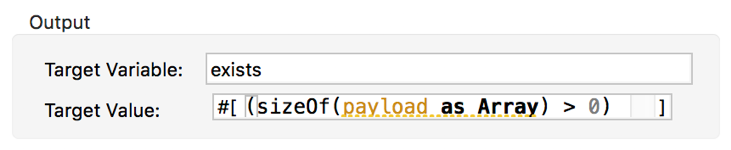
34. Select the Advanced tab.
35. Set the target variable to exists.
36. Set the target value to
#[(sizeOf(payload as Array) > 0)]
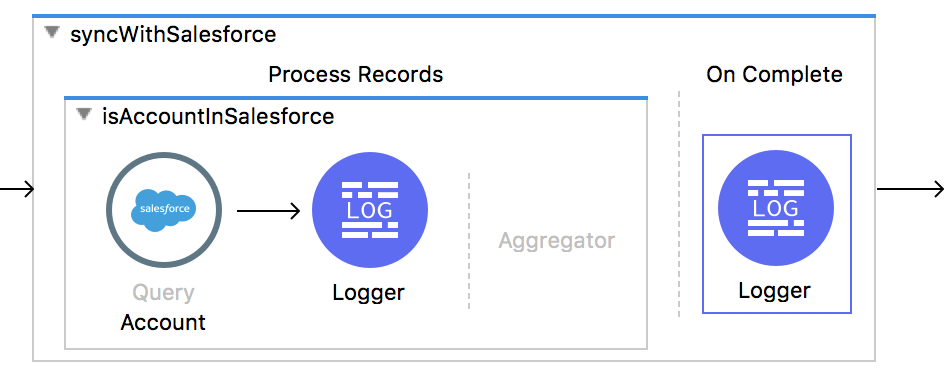
37. Add a Logger after the Query operation.
38. Add a Logger to the On Complete phase.
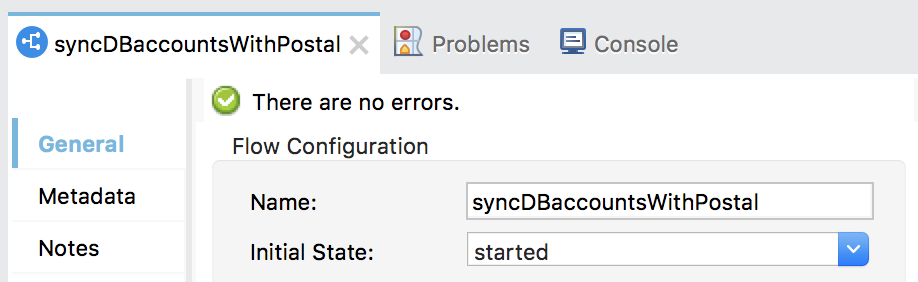
Change the initial state of the flow
39. In the properties view for the syncDBaccountsWithPostal flow, change the initial state to started.
Debug the application
40. Add a breakpoint to the Transform Message component before the batch job.
41. Save the file and debug the project.
42. Clear the application data.
43. In the Mule Debugger, wait until application execution stops in the receiveJMSmessages flow.
44. Step to the Logger in the first batch step and expand Variables; you should see the exists variable set to true or false.
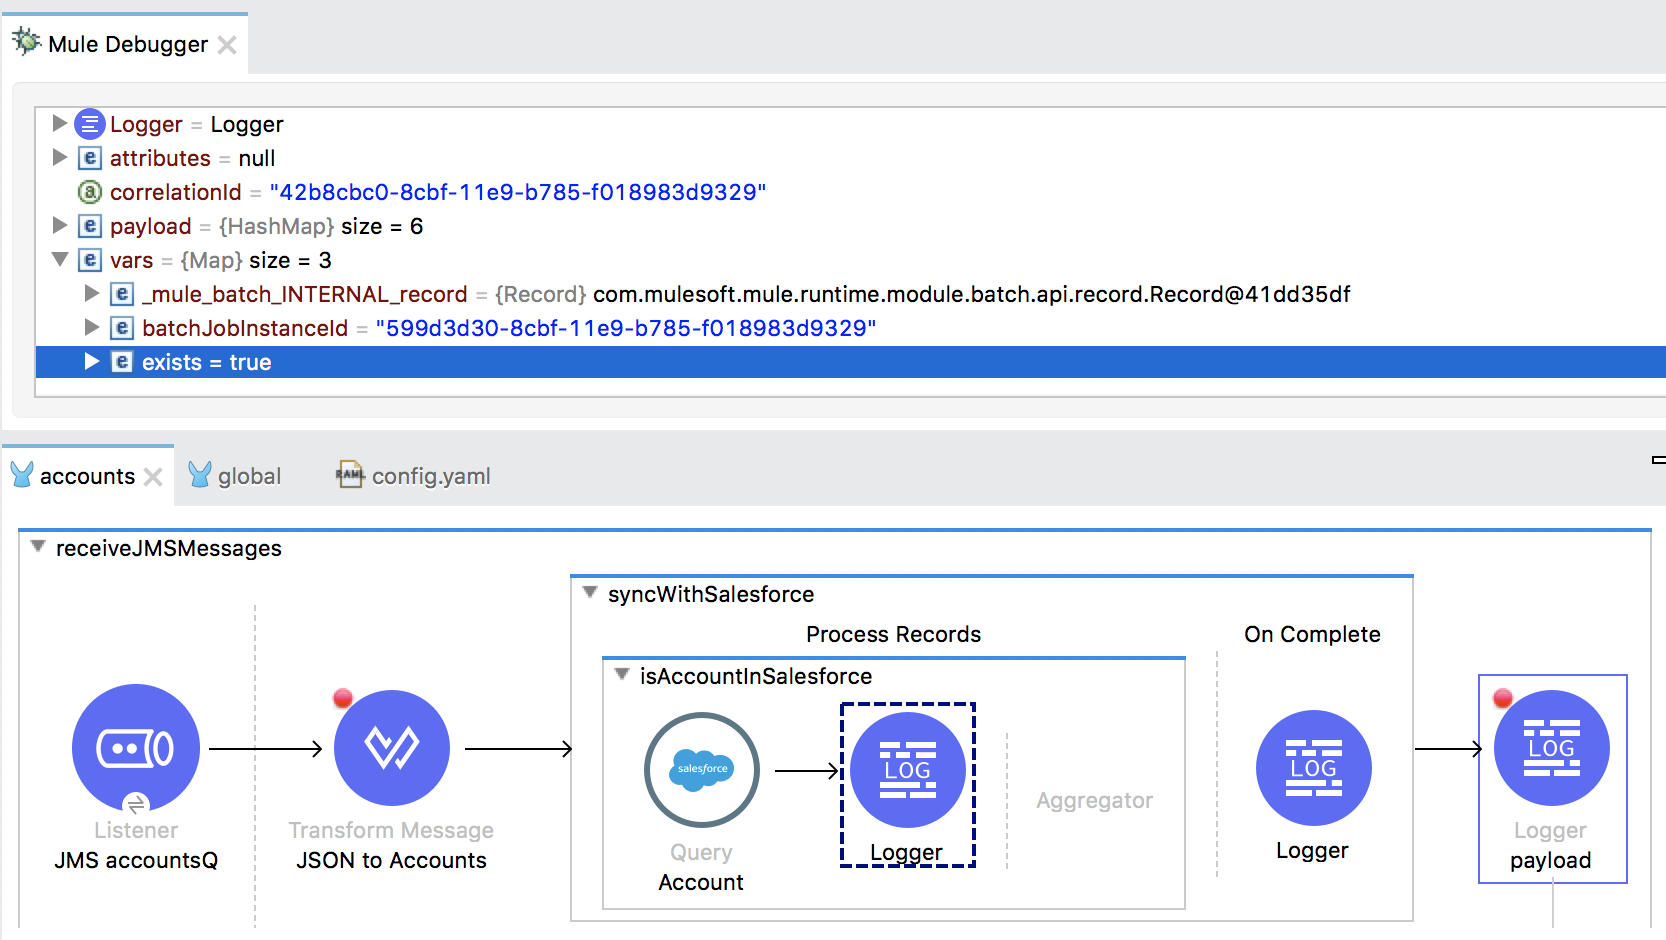
45. Step through the application; you should see the exists variable set to false for records with names that don’t exist in Salesforce and true for those that do.
46. Stop the project and switch perspectives.
Set a filter for the insertion step
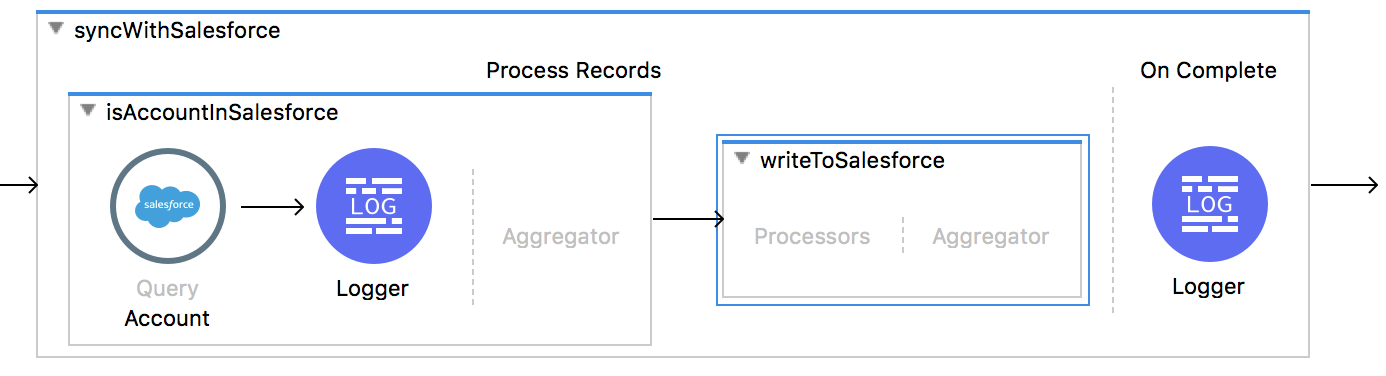
47. Add a second batch step to the batch job.
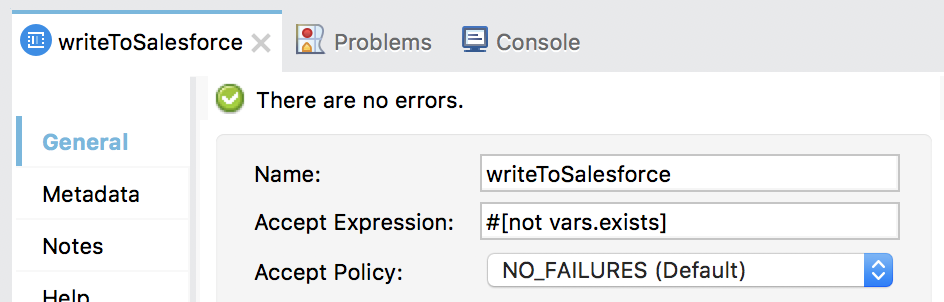
48. Change its display name to writeToSalesforce.
49. In the properties view for the second batch step, set the accept expression so that only records that have the variable exists set to false are processed.
#[not vars.exists]
Use the Salesforce Create operation to add new account records to Salesforce
50. Add Salesforce Create operation to the second batch step in the processors phase.
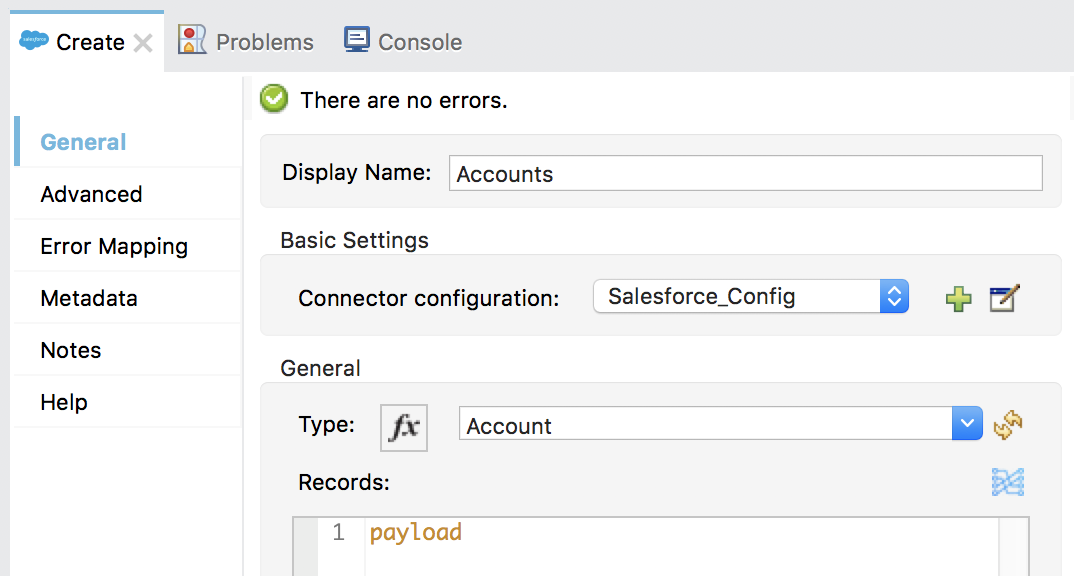
51. In the Create properties view, set the following:
· Display Name: Accounts
· Connector configuration: Salesforce_Config
· Type: Account
· Records: payload
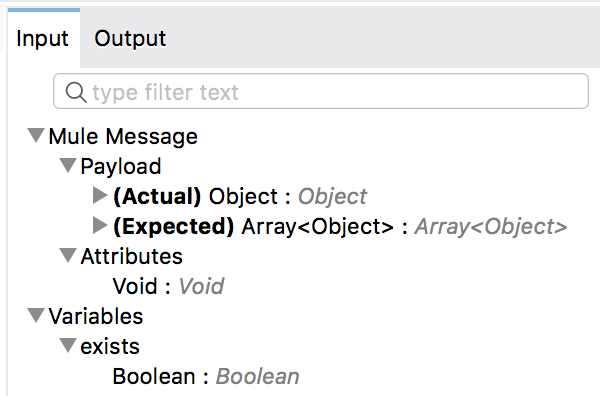
52. Select the Input tab in the DataSense Explorer; you should see this operation expects an Array of Account objects – not just one.
Create the Array of objects that the operation is expecting
53. Drag a Batch Aggregator scope from the Mule Palette and drop it in the aggregator phase of the second batch step.
54. Move the Salesforce Create operation into the Batch Aggregator.
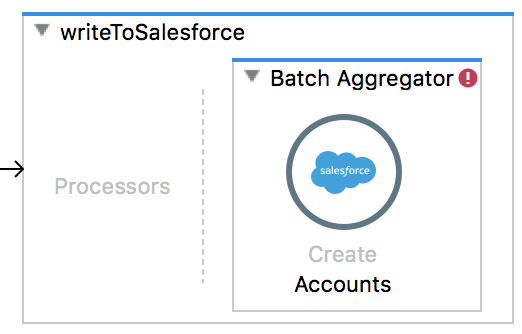
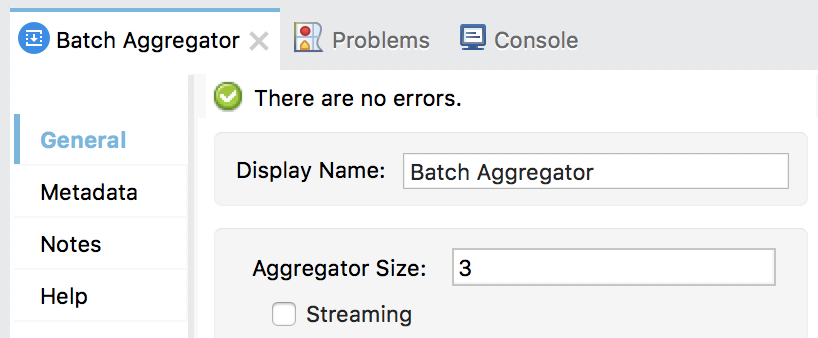
55. In the Batch Aggregator properties view, set the aggregator size to 3.
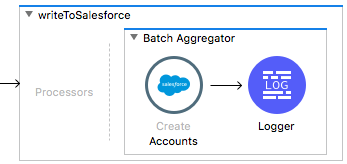
56. Add a Logger after the Create operation.
Test the application
57. Save the file, debug the project, and clear the application data.
58. Step through the application until you step into the Batch Aggregator.
59. Expand Payload.
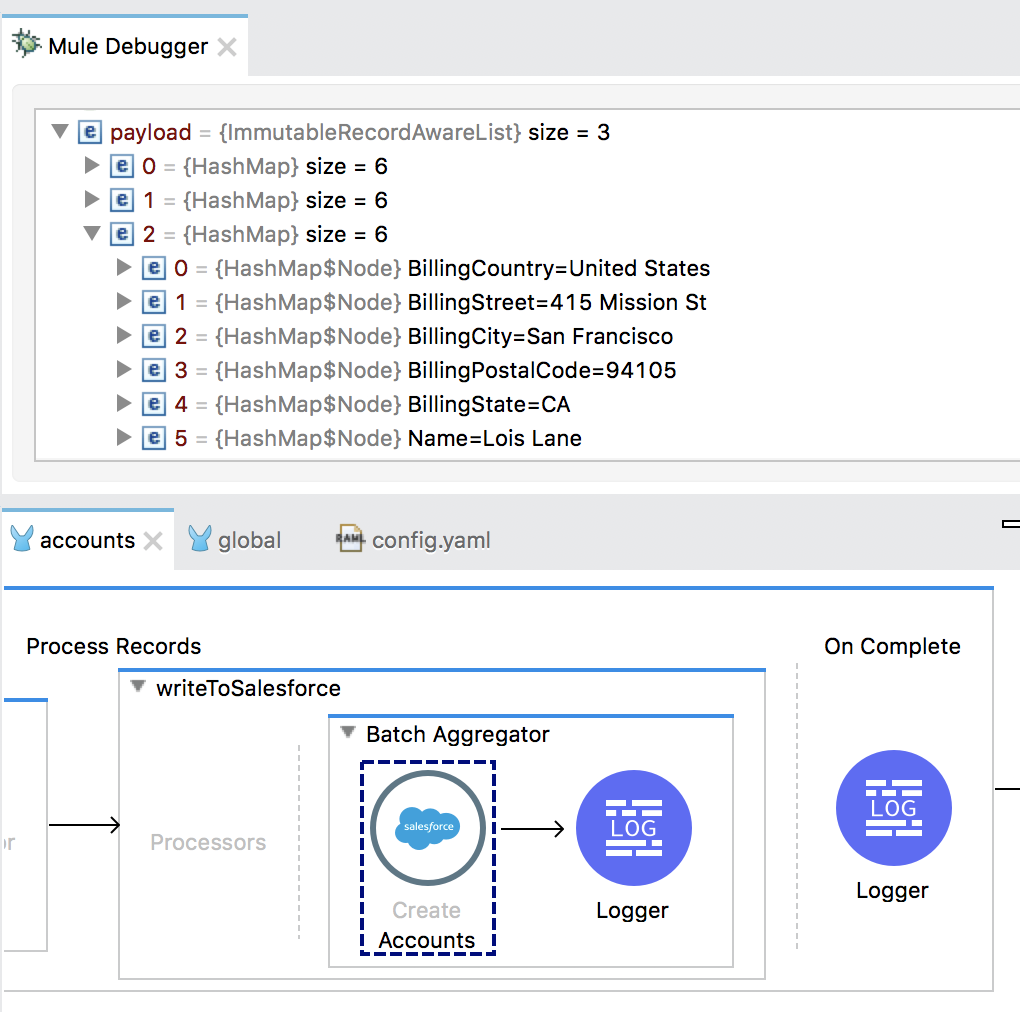
60. Step through the rest of the flow.
61. Return to Salesforce and look at the accounts; you should see the records from the legacy MySQL database are now in Salesforce.
Note: You could also check for the records by making a request to http://localhost:8081/sfdc.
62. Run the application again but do not clear the application data; no records should be processed.
63. Return to salesforce.com and locate your new record(s); they should have been inserted only once.
64. Return to Anypoint Studio and stop the project.